Helpful Hints Series: How to Setup An Account For Online Scheduling
Why should I set up an account?
It makes it easier for you to manage your entire schedule
After you log in, you will see all of your appointments and you can schedule more, reschedule, or cancel any if something came up
Cancellations within 2 hours of the start time of your appointment have to be cancelled by us - please email us if you need to cancel at the last minute; otherwise you can do it yourself
Take a look at the screenshots (click for a larger image), showing all the steps that you need to successfully register an account
After Booking An Appointment - click Register for an Account
Fill in the registration form & after you get the Successfully registered message, check your email
The email will come from scheduling @ acuityscheduling.com - click verify your e-mail address
You will see the message, Successfully verified e-mail address, with a list of your Upcoming appointments (cancelled and existing)
The next time you go to book an appointment, you can go to the top right of the scheduling screen where you see Returning Customer? Log in
Enter your Username (your email address) and your Password, and click the Log in button
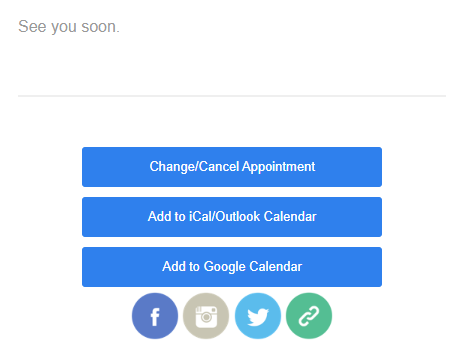
If you didn’t Register for an Account when you booked your appointment, simply open up your confirmation email and scroll to the bottom and click on Change/Cancel Appointment - this will take you to the confirmation page, where you can click on Register for an Account, and complete the steps above
Watch our video tutorial on How to Register an Account, How to Log in to your Account, and the Benefits of Registering an Account.
Hours, Availability, Prices
Right at your fingertips
From our calendar to yours - online scheduling makes it easier for you to manage your time
19 Patrick Lane, Poughkeepsie, NY 12603


